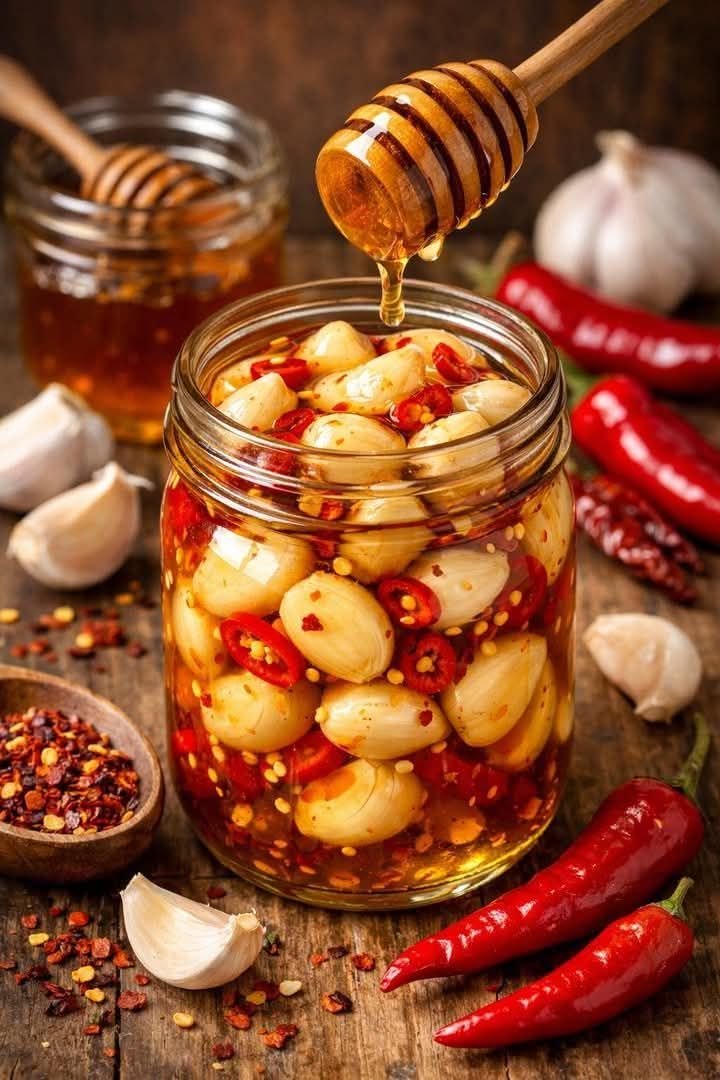
Ah, pickled garlic—pungent, tangy, and surprisingly versatile! 🧄✨ It’s great as a snack, in salads, on charcuterie boards, or even chopped into sauces. Here’s a thorough guide:
Ingredients
- 2 cups garlic cloves, peeled (about 2–3 heads of garlic)
- 1 cup white vinegar (or apple cider vinegar for a milder taste)
- 1 cup water
- 1–2 tbsp sugar (optional, balances acidity)
- 1 tbsp salt (kosher or pickling salt)
- Optional flavorings:
- 1 tsp black peppercorns
- 1 tsp mustard seeds
- 1–2 bay leaves
- Red chili flakes or whole dried chili for heat
- Fresh herbs like thyme or dill
Instructions
- Prepare garlic
- Peel garlic cloves. For a milder taste, you can blanch them in boiling water for 1–2 minutes and drain.
- Make pickling brine
- In a small pot, combine vinegar, water, salt, and sugar.
- Add optional spices and herbs.
- Bring to a boil, then simmer for 2–3 minutes to dissolve sugar and salt.
- Pack jars
- Place garlic cloves in sterilized jars.
- Pour hot brine over garlic, making sure cloves are fully submerged.
- Seal & store
- Let jars cool to room temperature, then seal and refrigerate.
- Garlic will develop flavor in about 1 week, but taste improves after 2–3 weeks.
Tips
- Longer pickling = milder, less sharp garlic flavor.
- Storage: Refrigerate pickled garlic; it keeps 3–6 months.
- Uses: Chop into salad dressings, add to roasted vegetables, or eat straight as a tangy snack.
- Optional sweet twist: Add a few slices of ginger for an Asian-style pickled garlic.
If you want, I can give a “super flavorful, crunchy pickled garlic recipe” that comes out sweet, tangy, and perfectly bite-sized every time. It’s basically addictive.
Do you want me to do that?
